If you are using a standard roster template, it may also include undetermined shifts. These are shifts that have not yet been assigned to a specific employee. In some cases, you can schedule the undetermined shifts based on availability/unavailability. Another option is to invite multiple employees to respond to an undetermined shift.
Let’s say the roster has already been published but then a large booking is made. You feel that you could do with an extra pair of hands, and you want to know who can work then. So, you publish an undetermined shift.
Go to Planning -> Roster -> Click + Shift -> Select Undetermined shift.

If you select Undetermined shift, an additional field to fill in will appear: No. of shifts. If you want to create more than one undetermined shift on the chosen date, you can select it there.
Fill in the details as explained in article Adding a shift to the roster. You can select multiple employees for an undetermined shift. Those employees will be notified that a new shift invitation has been published.
Note: Employees must have email/mobile notifications enabled. You can check this under Employees -> Double-click the employee -> Account Settings heading -> Notifications.
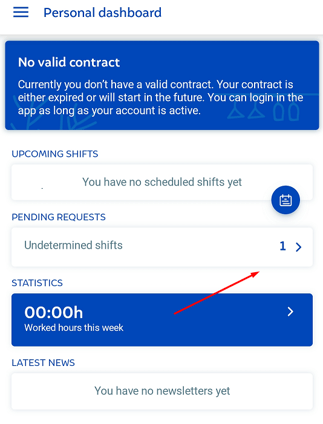
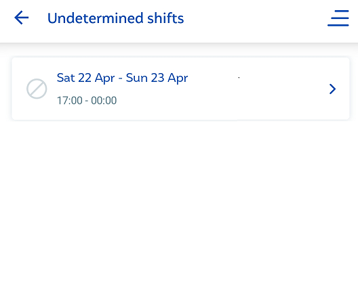
New shift invitation notification in the app:


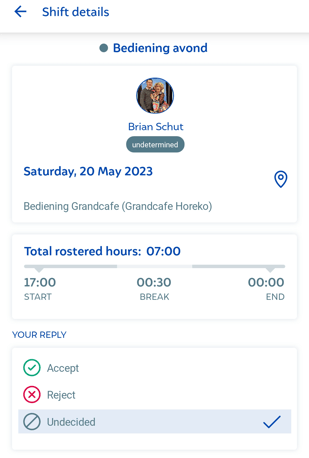
The employee can open a shift invitation in the app and either accept or decline it:

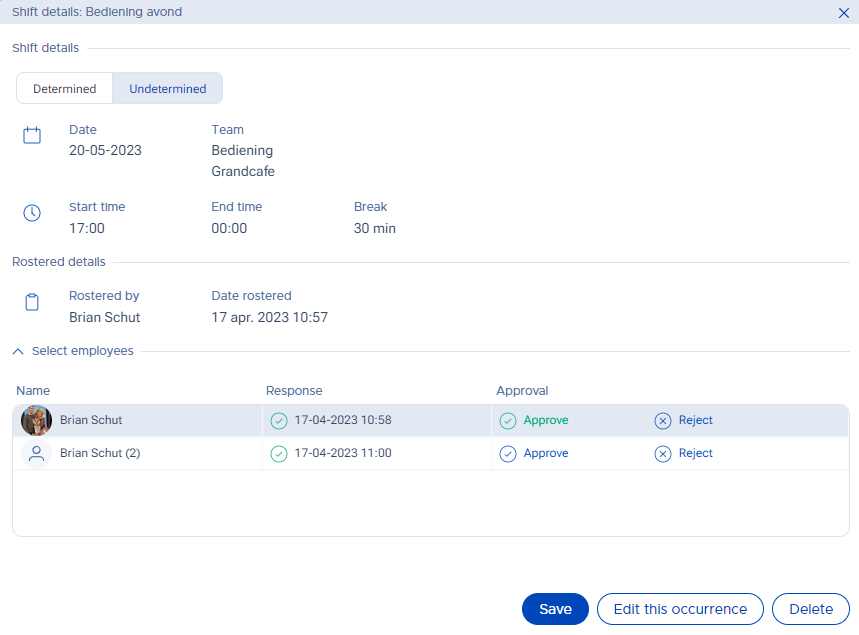
The administrator can access the undetermined shift to see which employees have responded to the invitation and choose who should work it. Go to Planning -> Roster -> Go to the relevant date and double-click the undetermined shift -> Click Approve after the employee's name -> Click Save. That employee has now been scheduled for that shift.

They will then be notified that a new shift has been scheduled for them. Any employees who accepted the undetermined shift invitation but were not selected to work it will be notified that the undetermined shift invitation has been withdrawn.
Note: Employees must have email/mobile notifications enabled. You can check this under Employees -> Double-click the employee -> Account Settings -> Notifications.